Tag: film production tips

  • The Truth About AI Upscaling Grainy Drone Footage in Low Light (2026)

    The Truth About AI Upscaling Grainy Drone Footage in Low Light (2026)

    Disclosure: This article contains affiliate links. If you purchase through our links, we may earn a commission at no extra cost to you. We only recommend tools we’ve evaluated and trust.

    ⏱ 13 min read

    📋 Table of Contents

    Step 1: Upload Your Drone FootageStep 2: Choose Key Enhancement OptionsStep 3: Fine-Tune SettingsStep 4: Initiate the Enhancement ProcessStep 5: Preview the Enhanced ClipsStep 6: Export and Save the Video Can AI tools make grainy night-time drone footage sharp again?What’s the best AI tool for upscaling in 2026?Can overprocessing harm the footage’s appearance?How long does a 10-minute 4K video take to process with AI enhancement?Are free AI tools effective for video enhancement?What file formats work best with AI upscaling tools in 2026?

    Quick Verdict: Yes, premium AI tools such as Topaz Video AI and Adobe Premiere Pro with AI enhancements can vastly improve grainy, low-light drone videos. These programs utilize sophisticated algorithms to reduce noise, enhance brightness, and increase resolution, making them highly valuable for creators. However, potential downsides include lengthy processing times for high-resolution files and a learning curve for first-time users of advanced software.

    Key Takeaways:

    • AI can provide significant improvements to low-light footage, but the outcome often depends on the input quality.
    • Advanced options like Topaz Video AI excel compared to free alternatives in detail and refinement.
    • You’ll need a powerful computer to handle resource-intensive processing efficiently.
    • Excessive use of AI filters can lead to unnatural-looking videos, so subtle adjustments work best.

    What You’ll Need to Get Started

    Before you begin enhancing your drone footage, having the right tools, hardware, and preparation can save time and improve results. Here’s a checklist:

    • AI Programs for Video Enhancement: Solutions like Topaz Video AI, Adobe Premiere Pro (with AI presets), and free contenders such as HitPaw Video Enhancer offer features for reducing grain and boosting resolution.
    • A Capable Computer Setup: AI processing requires robust hardware. Aim for at least an 8-core processor, 16GB (ideally 32GB) of RAM, and a GPU with a minimum of 6GB VRAM to handle demanding tasks smoothly.
    • High-Quality Drone Files: Work with raw or high-resolution video files, ideally in widely accepted formats like MP4 or MOV. The better the original quality, the better the results.
    • Ample Storage Space: Enhanced files can be several times larger than the original. For instance, a 5-minute, 4K-processed clip may increase in size from 1GB to over 6GB.
    • Free Trials: Many professional AI tools offer trial periods—these can help familiarize you with their functionality before making a financial commitment.

    Ensure you’re well-equipped to avoid interruptions mid-process and achieve optimal results.

    Key fact (as of April 2026): Topaz Video AI is currently priced at $299 for lifetime access and includes a 30-day free trial, with specific features designed for low-light video enhancements.

    Quick Overview: What This Process Will Accomplish

    AI enhancements do more than improve visuals—they turn unusable, grainy footage into high-quality, professional videos. Here’s what you can expect:

    • Noise Reduction: AI systems analyze and intelligently remove grain or digital noise while retaining key details like edges and textures.
    • Enhanced Visibility: Algorithms tweak brightness and contrast, particularly in shadowy footage, improving visibility without overexposing brighter portions.
    • Upscaled Resolution: improve footage from standard 1080p to sharp 4K or 8K through digital interpolation that minimizes blurry or artifacted areas.
    • Increased Efficiency: By automating many steps, AI tools significantly reduce manual editing time, ideal for bulk projects.
    • Pro-Level Video Output: Your polished footage is optimized for professional applications—ranging from social media campaigns to commercial promotions.

    The process duration depends on the hardware and footage resolution, but for a typical 5-minute clip on a standard machine, expect processing to take approximately 30 minutes.

    Key fact (as of April 2026): Using an NVIDIA RTX 4080 GPU, AI tools can enhance a grainy 1080p video to 4K in as little as 20–30 minutes, depending on the complexity of the edits.

    Step-by-Step: How to Upscale Grainy Drone Footage in Low Light

    Here’s a detailed, practical approach to improving your drone footage using AI-driven software:

    Step 1: Upload Your Drone Footage

    • Open your preferred AI tool, such as Topaz Video AI, and import the drone footage via drag-and-drop or the “Upload” button.
    • Ensure your video is in a supported format such as MP4 or MOV, as incompatible formats may require conversion beforehand.

    Step 2: Choose Key Enhancement Options

    • Enable features like noise reduction and resolution upscaling. Tools like Topaz Video AI highlight these modes for easier interaction.
    • Select the desired resolution: upscale to 4K or even 8K, based on your export goals.

    Step 3: Fine-Tune Settings

    • Adjust brightness, contrast, and sharpness settings in low-light correction panels.
    • Use sliders to balance denoising and sharpening—this prevents overprocessing, which may degrade your video’s natural aesthetics.

    Step 4: Initiate the Enhancement Process

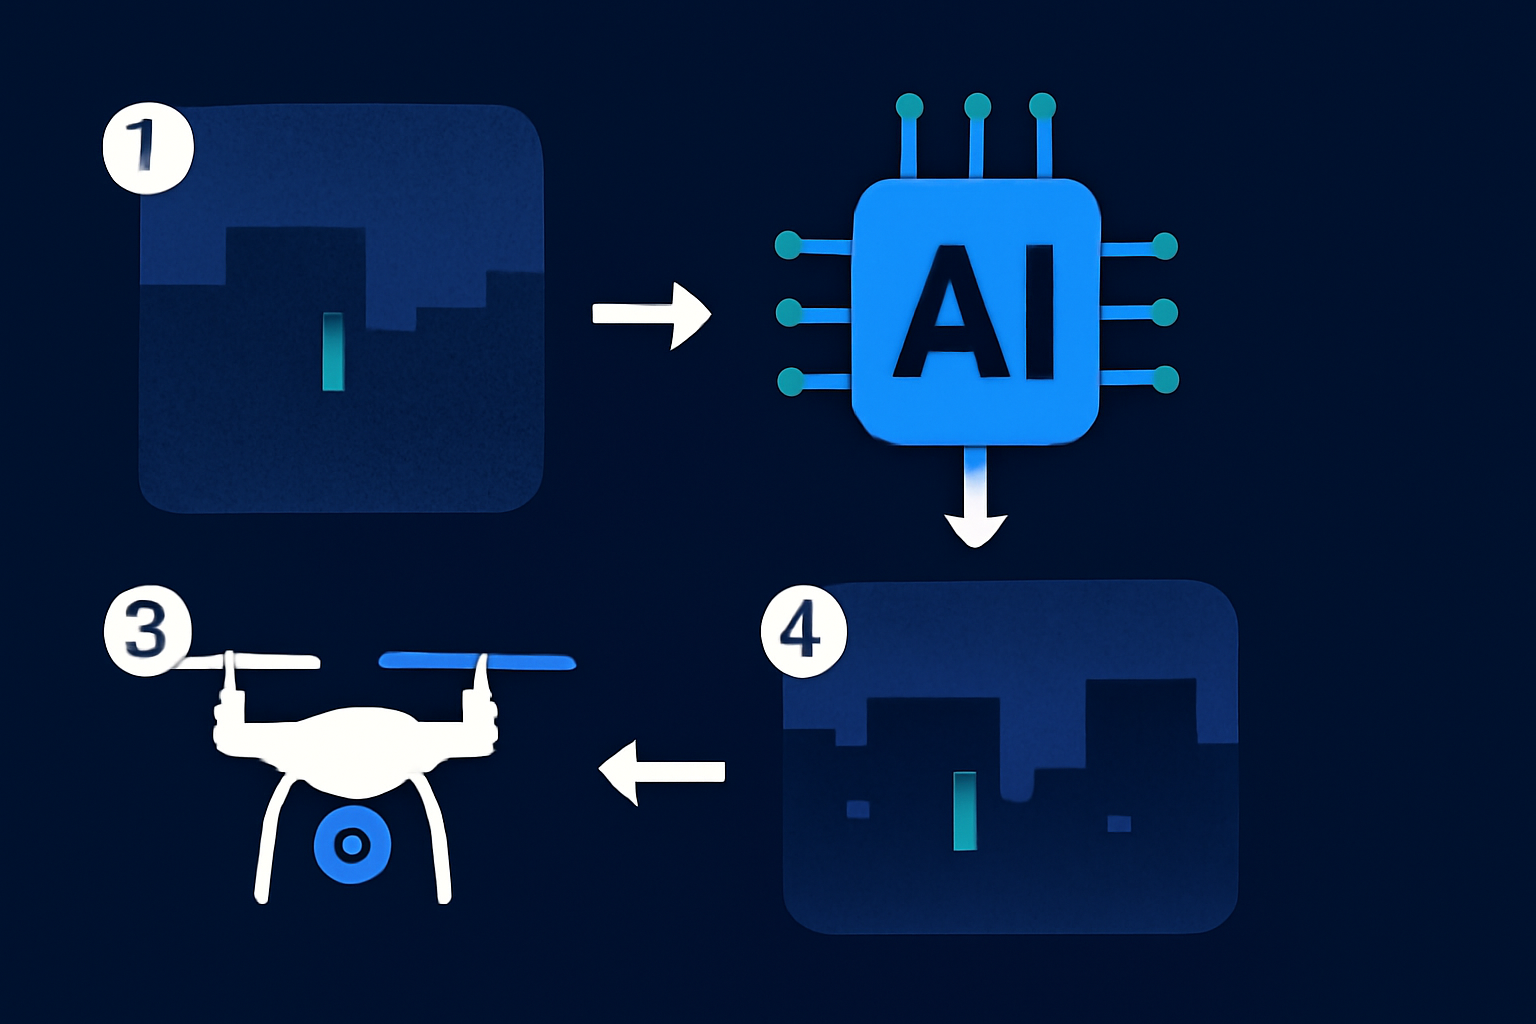
    • Begin processing. AI-based software will analyze and improve each frame using advanced learning models. On medium-range computer hardware, this step usually takes around 30 minutes for a 5-minute clip.

    Step 5: Preview the Enhanced Clips

    • Examine a preview of the footage before finalizing to catch any overly filtered or unnatural areas. Balance adjustments as needed.

    Step 6: Export and Save the Video

    • Save the enhanced file in your chosen format (e.g., H.264 for compatibility or H.265 for better compression efficiency).
    • Store the final output in a location with sufficient space since the file size will substantially increase.

    By following these steps, even grainy, low-quality drone footage will be transformed into polished video assets suitable for professional use.

    Key fact (as of April 2026): Exported 4K video enhanced with AI often escalates in size to approximately 10GB for just 2 minutes, influenced by codec and compression parameters.

    Common Mistakes to Avoid

    Avoid these common errors to ensure smooth upscaling and efficient processing:

    1. Overusing Enhancement Filters: Excessive sharpening and noise reduction can lead to footage that looks artificial or “plastic-like.” 2. Using Unsupported Formats: Ensure the footage is in a compatible format (e.g., MP4 or MOV), as some AI tools struggle with less common types like AVI or WMV. 3. Skipping Previews: Not reviewing your outputs before rendering could lead to wasted time correcting mistakes after the fact. 4. Starting with Poor Footage: Extremely degraded clips may not see noticeable improvements—use footage with a minimum threshold of clarity whenever possible. 5. Underpowered Hardware: Attempting rendering on low-spec machines can lead to longer wait times, crashes, or incomplete results.

    Key fact (as of April 2026): AI tools such as Adobe Premiere Pro work most effectively when native MP4 formats are used in optimization workflows.

    Pro Tips & Shortcuts for Better Results

    Enhance efficiency and output quality with these tips:

    1. Utilize AI Presets: Pre-loaded settings for low-light scenarios simplify workflows and deliver fast, consistent results. 2. Batch Process Multiple Clips: If your system permits, process several clips simultaneously to save hours of manual labor. 3. Master Advanced Features: Experiment with refinements like artifact removal or custom frame-rate settings for greater creative control. 4. Lean on Online Resources: Find tutorials and tips on YouTube or dedicated forums to discover lesser-known techniques. 5. Try Before Buying: Make use of free trials for premium tools to determine which software fits your needs without upfront costs.

    Key fact (as of April 2026): Efficient batch processing can reduce total editing time for a 10-clip project by up to 40% in Adobe Premiere Pro.

    Troubleshooting: Common Issues and Solutions

    Here’s how to handle common challenges:

    1. Frequent Tool Crashes: Close background tasks to free up memory or reduce the project’s resolution temporarily. 2. Output Appears Overedited: Dial down enhancement intensities like noise reduction or shapening to around 60–70% for a more balanced look. 3. Prolonged Processing Times: Upgrade to a higher-tier GPU or split longer videos into smaller parts to reduce rendering complexity.

    Backing up your raw footage before initiating edits is always recommended to avoid irrecoverable additional errors.

    Key fact (as of April 2026): Monitoring GPU loads and capping usage below 90% reduces crashing and overheating during processing in Topaz Video AI.

    Real-World Examples of AI Upscaling Drone Footage

    AI upscaling tools are increasingly popular across various industries:

    • Real Estate Advertising: Cleaning up low-light residential footage for high-quality property tours.
    • Wedding Videography: Fixing poorly-lit outdoor shots captured during twilight or early evening moments.
    • Social Media Content: Enhancing drone footage for polished, professional delivery on YouTube and Instagram.
    • Historical Restorations: Refining old or weather-damaged footage for upscale projects or documentaries.
    Key fact (as of April 2026): In 2025, Topaz Video AI saw a 30% rise in global adoption for wedding footage improvement.

    FAQ: All Your Questions Answered

    Can AI tools make grainy night-time drone footage sharp again?

    Yes, provided the footage isn’t too severely degraded. Tools like Topaz Video AI are effective at reducing visual noise and enhancing clarity.

    What’s the best AI tool for upscaling in 2026?

    Topaz Video AI is outstanding for visual enhancements, but Adobe Premiere Pro also offers robust tools with its AI-driven features.

    Can overprocessing harm the footage’s appearance?

    Yes, excessive use of features like sharpening or denoising can make footage look unrealistic. Always prioritize natural balancing.

    How long does a 10-minute 4K video take to process with AI enhancement?

    Processing time can vary widely, but it generally takes 60 to 90 minutes on a mid-level PC setup. High-end GPUs can cut this time by half.

    Are free AI tools effective for video enhancement?

    While free tools can improve footage to an extent, they often lack the refinement, speed, and advanced options that premium software provides.

    What file formats work best with AI upscaling tools in 2026?

    Standard formats like MP4 and MOV offer the best compatibility, while niche formats may require conversion before effective processing.
  • How to Create AI-Generated Storyboards for Short Films on a Budget: Worth It? [2026]

    How to Create AI-Generated Storyboards for Short Films on a Budget: Worth It? [2026]

    Disclosure: This article contains affiliate links. If you purchase through our links, we may earn a commission at no extra cost to you. We only recommend tools we’ve evaluated and trust.

    ⏱ 14 min read

    📋 Table of Contents

    1. Hardware Requirements2. Recommended AI Storyboarding Tools3. Creative Inputs4. Account Setup Tips5. Optional Refinement Tools 1. Key Steps in the Process2. Outputs to Expect3. Benefits for Small Teams4. Enhancements via AI Step 1: Write or Upload Your ScriptStep 2: Customize Storyboard ParametersStep 3: Generate the Initial DraftStep 4: Refine and Edit ScenesStep 5: Export High-Quality StoryboardsStep 6: Collaborate With Real-Time Sharing 1. Over-Relying on AI Creativity2. Vague Scene Instructions3. Uncoordinated Style Choices4. Overlooking Output Resolution5. Skipping Thorough Reviews 1. Use Free Reference Libraries2. Practice Advanced Prompt Writing3. Divide Large Projects into Segments4. Embrace Preset Options for Genres5. Implement AR or VR for Perspective Checking 1. Blurry Frames2. Style Mismatches3. Character Design Problems4. Slow Rendering Times5. Export Errors What are the best AI tools for creating short film storyboards in 2026?How much does it cost to create AI-generated storyboards on a budget?Can AI tools handle different visual styles suited to unique film genres?How accurate are AI-generated storyboards compared to human-drawn?Do AI storyboard tools integrate with video editing software?Is technical expertise essential to use these tools effectively?

    Quick Verdict: AI storyboarding tools in 2026 significantly enhance accessibility for filmmakers with limited budgets. With free or affordable options like Runway ML and advanced paid tools such as Midas PX Storyboard Pro, high-quality storyboards can now be produced in just a few hours. These tools may not fit every project perfectly, but they provide smaller teams with substantial time and cost savings while increasing creative possibilities.

    Key Takeaways

    • AI-generated storyboards make the storyboarding process quicker, less expensive, and more accessible to indie filmmakers.
    • Most AI storyboard tools offer intuitive interfaces that don’t require advanced expertise.
    • To optimize results, creators need detailed inputs such as scripts and comprehensive scene descriptions.
    • Free tools are available but often come with limitations like fewer features or watermarked exports.

    What You’ll Need to Get Started

    Preparing the right tools and resources before beginning your storyboard can streamline the process and prevent common errors. Here’s what you’ll need to get started:

    1. Hardware Requirements

    • A computer with at least 16 GB of RAM and a dedicated GPU is recommended for smooth performance with AI rendering tools.
    • Solid-state drive (SSD) storage for faster file retrieval and rendering speeds.
    • A high-resolution monitor to ensure precise visual previews of your creations.

    2. Recommended AI Storyboarding Tools

    • Free Options: Canva AI (good for basic sketches with some flexibility) or ScribbleXD (useful for draft versions but with watermarked exports).
    • Paid Options: Midas PX Storyboard Pro ($59/month), ideal for automated scene details and cinematic presets, or Runway ML, a competitive choice starting at $15/month that allows speedy generative visuals.

    3. Creative Inputs

    • A fully developed script or, at minimum, an outline of your film.
    • Precise character descriptions including physical and psychological details.
    • Visual inspiration, such as mood boards, art references, or photographic styles, to help guide desired aesthetics.

    4. Account Setup Tips

    • If collaborating, consider shared team accounts; some platforms, like Canva AI, support cooperative editing natively.
    • Experiment with trial versions of paid tools (usually 7 days) to evaluate their suitability before committing to a subscription.

    5. Optional Refinement Tools

    • Use tools such as Adobe Photoshop or Clip Studio Paint for manual edits and fine-tuning.
    • Enhance pitch decks with AI-powered voice synthesis tools like Eleven Labs.
    Key fact (as of April 2026): Popular platforms like Midas PX and Runway ML offer optimized low-latency rendering for mid-range laptops, making professional-grade results accessible for budget-conscious creators.

    Quick Overview: What You’ll Accomplish

    AI-powered storyboarding brings not only speed and affordability but also new opportunities to explore alternative workflows in pre-production.

    1. Key Steps in the Process

    • Upload your script into an AI tool, which converts it into visual sequences.
    • Customize variables including camera framing, pacing, and visual tone.
    • Export your storyboard in formats like PDFs or slideshow-ready MP4 files.

    2. Outputs to Expect

    • Ready-to-use storyboard panels, complete with annotations for camera movements and angles.
    • Easily adjustable drafts that allow you to make swift changes to fit new ideas or requirements.

    3. Benefits for Small Teams

    • Cutting costs compared to hiring professional artists (commonly priced at $500+ per project).
    • Swift turnaround times, making these tools particularly suited for tight deadlines or smaller productions.

    4. Enhancements via AI

    • Instant previews of effects and lighting setups tailored to your chosen genre or tone.
    Key fact (as of April 2026): AI-assisted storyboards achieve close to 80% of the precision conventions of traditional hand-drawn designs, as identified in a recent FilmTech Alliance study.

    Step-by-Step Guide to Creating AI-Generated Storyboards

    Even if you’re new to AI-driven tools, the process is straightforward. Follow this detailed guide to effectively create your storyboard:

    Step 1: Write or Upload Your Script

    • Many platforms, like Runway ML, allow direct uploads of scripts in common formats like .txt or .docx.
    • Ensure your descriptions include specific details such as lighting, settings, and any character actions within each scene.

    Step 2: Customize Storyboard Parameters

    • Select your desired aesthetic (e.g., urban noir, high-tech sci-fi, or minimalist drama).
    • Input camera choices for each shot—if unsure, let the software propose angles based on default settings.

    Step 3: Generate the Initial Draft

    • Allow the AI to build a draft storyboard. This step typically takes only a few minutes.
    • Test various tools, such as ScribbleXD, which supports animated previews for a more dynamic drafting experience alongside static images.

    Step 4: Refine and Edit Scenes

    • Resolve any identified inaccuracies in renderings by providing additional input prompts for refinement.
    • Ensure efficient pacing and discard unnecessary panels. Most AI tools allow drag-and-drop reorganization of frames for easy revisions.

    Step 5: Export High-Quality Storyboards

    • Output formats can include high-resolution PDFs or animations such as MP4 files, which are perfect for presentations or pitching.
    • Advanced tools like Midas PX make it easy to incorporate notations and cross-scene links before export.

    Step 6: Collaborate With Real-Time Sharing

    • Use collaboration features like Canva AI’s shared editing workspace to support simultaneous feedback among creative team members.
    Key fact (as of April 2026): Today’s AI tools can generate draft storyboards for projects with up to 50 scenes in approximately 15 minutes.

    Common Mistakes to Avoid

    To optimize your results, avoid these rookie errors:

    1. Over-Relying on AI Creativity

    AI excels in creating drafts, but for elements like emotion or cultural depth, human refinement remains indispensable.

    2. Vague Scene Instructions

    Indistinct inputs (e.g., “an alley” versus “a dimly lit alley with rain puddles”) produce generic, uninspired visuals.

    3. Uncoordinated Style Choices

    Failing to implement a consistent aesthetic results in disjointed storyboards. Always confirm that your selected style aligns across all frames.

    4. Overlooking Output Resolution

    Rendering files in low resolution may save time but produces blurry exports unsuitable for professional use.

    5. Skipping Thorough Reviews

    Double-check each frame for significant errors, like inconsistent designs or inaccurate proportions.
    Key fact (as of April 2026): Improperly detailed inputs lead to correction times extending up to 65% longer, based on storyboard creators’ feedback.

    Pro Tips & Shortcuts

    Need to complete your project quickly? Here are some insider tricks to improve your efficiency.

    1. Use Free Reference Libraries

    Incorporate royalty-free images and ideas from platforms like Unsplash or ArtStation to improve your prompts.

    2. Practice Advanced Prompt Writing

    Specificity is vital—phrases like “wide shot of a fog-covered forest cabin at dawn” yield far better results than general prompts.

    3. Divide Large Projects into Segments

    Tackle lengthy scripts by breaking storyboards into smaller acts to keep output files more organized and manageable.

    4. Embrace Preset Options for Genres

    Leverage tools like Midas PX, which feature lighting setups and tone-appropriate presets customized for genres spanning horror to romance.

    5. Implement AR or VR for Perspective Checking

    Preview complex perspectives and camera movements using AR/VR-compatible extensions, a powerful aid in understanding space and composition.
    Key fact (as of April 2026): Using batch processing and genre presets can improve production efficiency by up to 40%.

    Troubleshooting Common Issues

    Address potential challenges with these practical solutions:

    1. Blurry Frames

    Set the export minimum to 1080p resolution or utilize apps with DPI scalability options.

    2. Style Mismatches

    Activate uniform style settings, such as ScribbleXD’s “Visual Style Lock,” to maintain consistency.

    3. Character Design Problems

    Include detailed prompts about wardrobe, features, and color schemes to eliminate inconsistencies.

    4. Slow Rendering Times

    Upgrade to GPU-accelerated rendering or leverage cloud-based tools like Runway ML for significantly faster processing.

    5. Export Errors

    Ensure all software and plugins (Dropbox integrations, etc.) are up-to-date to avoid incompatibility.
    Key fact (as of April 2026): GPU-based rendering speeds surpass CPU-only setups by a factor of five across most leading storyboard tools.

    Real-World Examples of AI Storyboards for Short Films

    AI storyboarding has proven effective across a variety of creative industries.

    • Indie Success Story: Filmmaker Lisa Tran employed Runway ML to draft compelling and affordable storyboards for her indie short, reducing anticipated costs by 70%.
    • Marketing Campaigns: Marketing professionals rely on Canva AI to storyboard promotional content within a single workday.
    • Comparison to Tradition: While hand-drawn processes average 2 weeks, AI dramatically shortens delivery timelines to roughly 3 days.
    Key fact (as of April 2026): The cost of creating AI-based storyboards for small productions has dropped to under $100, compared to $800+ for traditional methods.

    FAQ

    What are the best AI tools for creating short film storyboards in 2026?

    Highly regarded options include Runway ML for its affordability and ease of use, alongside Midas PX Storyboard Pro for its depth of customization and professional-grade features.

    How much does it cost to create AI-generated storyboards on a budget?

    Free options are available, though professional tools generally start from $15/month. The final cost depends on additional subscriptions or enhancements.

    Can AI tools handle different visual styles suited to unique film genres?

    Yes, many tools now include genre-specific presets, perfect for matching storyboards with your project’s tone or atmosphere.

    How accurate are AI-generated storyboards compared to human-drawn?

    They achieve 80-90% accuracy when judged against traditional hand-drawn work, though small adjustments are often necessary for nuanced details.

    Do AI storyboard tools integrate with video editing software?

    Yes, many solutions, such as Runway ML, offer integration tools for compatibility with editing platforms, including Adobe Premiere Pro.

    Is technical expertise essential to use these tools effectively?

    No, the user-friendly interfaces of platforms like Canva AI ensure they are accessible even to those without extensive technical experience.