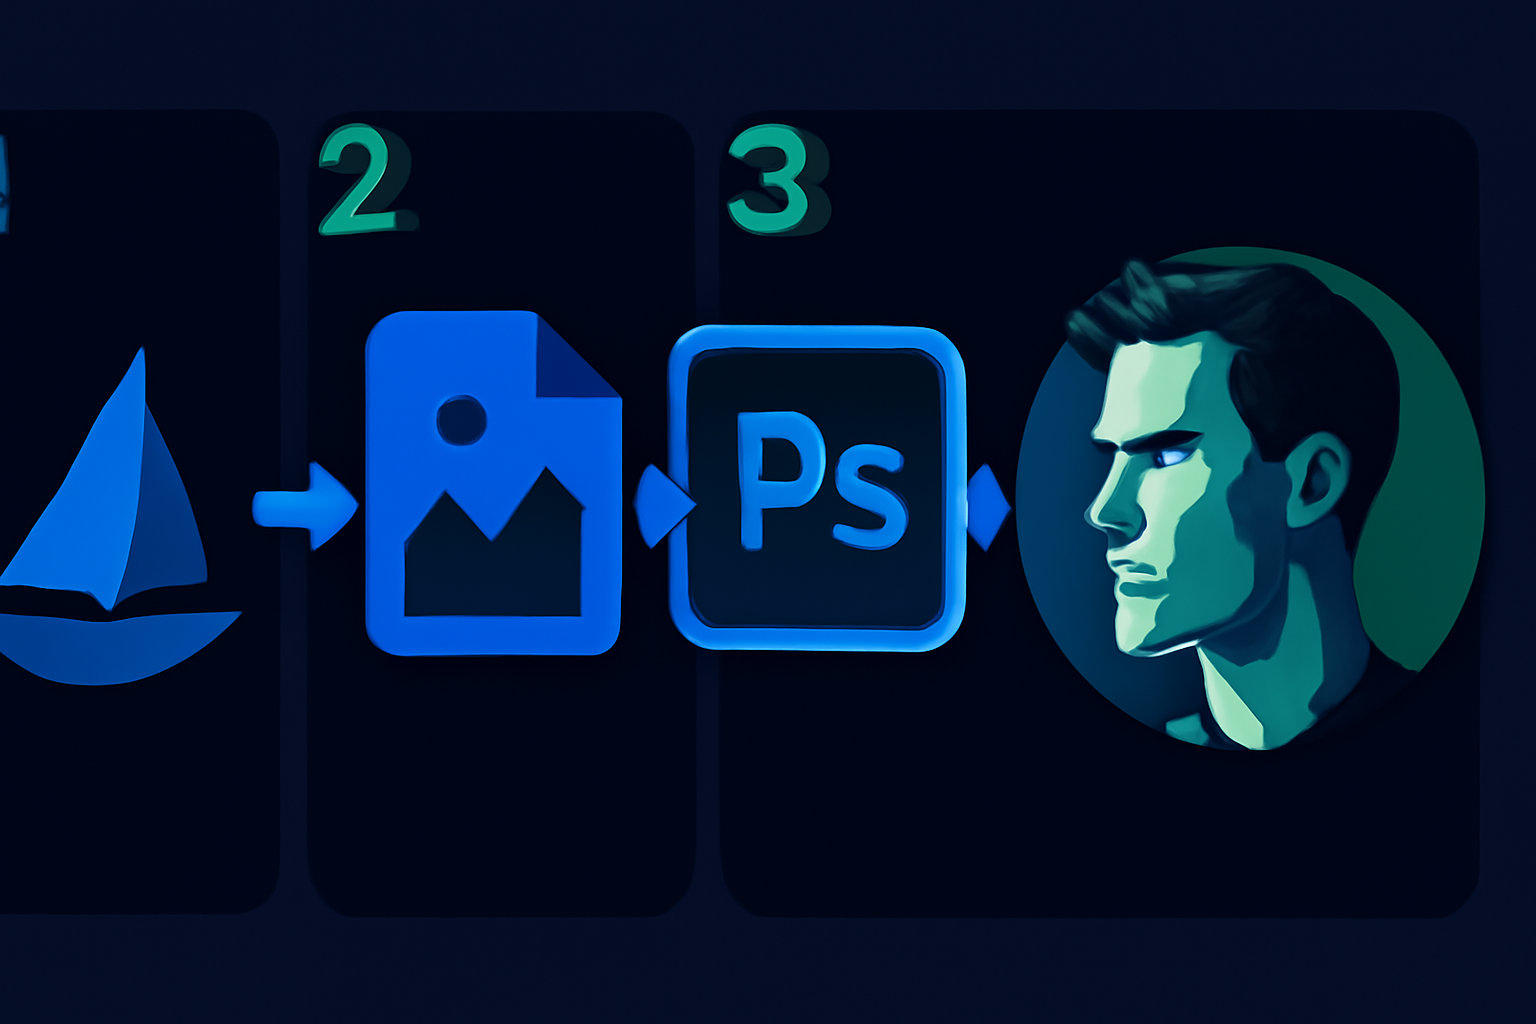
Quick Verdict: Combining MidJourney and Photoshop delivers an efficient and professional workflow for producing detailed and highly realistic AI art in 2026. MidJourney excels in generating creative concepts, while Photoshop provides the tools necessary to refine and perfect these images into polished works of art. This combination is an essential skill set for serious digital creators.
⏱ 10 min read
Key Takeaways:- Utilize MidJourney for fast concept creation and exploring artistic variety.
- Employ Photoshop for detail enhancements, realism, and complete creative control.
- Both tools require subscriptions, which can represent a significant investment, but they are vital for delivering top-tier visuals.
- This workflow is ideal for marketers, artists, and small businesses aiming to produce professional client-ready content.
—
What You’ll Need: Tools and Prerequisites
To successfully integrate MidJourney and Photoshop in your workflow, you’ll need the following tools and setup. Both MidJourney and Photoshop offer unique value individually, but preparation is key to leveraging them together effectively.
1. MidJourney Subscription – MidJourney operates as a Discord-based platform for generating AI art. Subscription plans begin at $15 per month for the Basic Plan, and Pro users can pay $30 per month for additional features. You’ll need a paid plan to generate high-quality results and obtain commercial usage rights. 2. Adobe Photoshop – Photoshop is still the premier choice for professional-grade image editing. As of April 2026, it costs $20.99 per month as part of Adobe’s standalone Creative Cloud subscription, or $54.99 per month if packaged with Adobe’s other apps.
3. Foundational Knowledge – You should have a basic understanding of MidJourney’s prompt system and be somewhat familiar with Photoshop’s interface. While expertise isn’t required, basic navigation and command usage will significantly speed up your workflow.
4. Optional Hardware – A drawing tablet, like those offered by Wacom or XP-Pen, can enhance the precision of your touch-ups but isn’t essential for beginners or those on a tight budget.
5. File Storage Options – Use cloud storage services like Google Drive or Dropbox, or invest in a portable external hard drive, as working with large files can quickly consume local storage.
Key fact (as of April 2026): MidJourney’s subscription prices start at $15 per month, and Photoshop’s standalone Creative Cloud plan costs $20.99 per month.
—
Quick Overview: What You’ll Accomplish
This guide equips you with the know-how to combine MidJourney’s AI art generation with Photoshop’s professional editing features. Here’s what you can expect to achieve by following this process:
- Generate Concept Art in MidJourney
- Polish with Photoshop
- Fuse Efficiency with Mastery
Whether your focus is on creating mesmerizing landscapes, lifelike portraits, or unique marketing materials, this workflow will allow you to streamline production time while improve quality.
Key fact (as of April 2026): Combining Photoshop and AI tools like MidJourney reduces the total time from initial concept to final product by as much as 50%.
—
Step-by-Step Instructions
1. Getting Started with MidJourney
First, access MidJourney through its Discord platform. If you’re a new user, you’ll need to join the MidJourney server and select a subscription plan. Familiarize yourself with the prompt entry interface and available controls.Quick Tips for Prompts:
- Be specific about your desired style or theme (e.g., “Baroque-inspired,” “futuristic cityscape”).
- Use additional descriptors such as “warm color palette,” “soft textures,” or “4K quality” to achieve outputs that are closer to your vision.
2. Generating Visual Concepts
Once you’ve entered your initial prompts, MidJourney will provide varied outputs. Use commands for upscaling (U) and generating variations (V) to ensure you reach your ideal base image. Prioritize high-resolution outputs to maximize post-editing flexibility.3. Preparing for Photoshop Import
Download your final MidJourney-selected image in PNG or JPG format. Opt for the highest quality available, as this minimizes issues like pixelation when the image is manipulated in Photoshop. Organize these files into dedicated project folders to keep your workflow efficient.4. Setting Up Layers in Photoshop
Once your file is imported into Photoshop, focus on maintaining organized layers:- Duplicate the base image layer to ensure edits don’t alter the original file.
- Segment elements into folders, such as Foreground, Background, and Effects, to simplify navigation during the editing process.
5. Enhancing Details in Photoshop
This stage is where Photoshop truly shines. Use its powerful editing tools to refine your MidJourney image:- Use the Smudge or Clone Stamp tools to fix texture inconsistencies.
- Adjust imperfections such as facial expression details or background artifacts using Liquify or Content-Aware Fill tools.
- Apply Layer Masks for precision while blending specific sections.
6. Dramatic Enhancements with Lighting Tools
Photoshop’s advanced features help simulate realistic light and shadow:- Dodge and Burn tools create tonal depth by brightening or darkening targeted areas.
- Adjustment Layers like Curves, Hue/Saturation, and Brightness/Contrast can bring cohesiveness to your color scheme.
- Experiment with Neural Filters to realistically adjust lighting angles or smooth skin tones.
This systematic approach merges MidJourney’s creative versatility with Photoshop’s fine-tuning capabilities, helping you craft visuals that stand out.
Key fact (as of April 2026): Adobe Photoshop’s Neural Filters enable real-time photo-realistic lighting adjustments for AI-generated graphics.
—
Common Mistakes to Avoid
1. Skipping Manual Adjustments in Photoshop Relying solely on MidJourney’s raw outputs often results in images that appear incomplete or overly synthetic.
2. Using Low-Quality Outputs from MidJourney Low-resolution files limit your ability to implement detailed edits without visible deterioration.
3. Disorganized Layers Failing to properly label and group your layers in Photoshop can turn into a time-consuming mess during later revisions.
4. Overusing Filters and Effects Excessive adjustments can make your visual output appear artificial, counteracting the goal of achieving realism.
Key fact (as of April 2026): Adobe studies indicate that 70% of Photoshop users reported improved editing efficiency after properly organizing layers.
—
Pro Tips and Shortcuts for Smooth Workflow
1. Experiment with MidJourney Outputs Don’t settle for a single AI-generated output. Gather multiple variations, offering greater flexibility during manual editing.
2. Save Time with Photoshop Actions Develop custom Automation Actions for routine processes like adjusting brightness or sharpening.
3. Master Blend Modes Blend Modes (e.g., Overlay, Multiply) provide nuanced control over how layers visually interact, making transitions smooth.
4. Use Ready-Made Presets Incorporate Lightroom presets or Photoshop color grading libraries for stylized visual consistency.
5. AI-Powered Adjustments Leverage Neural Filters to add depth, correct perspectives, or smooth surfaces with minimal effort.
Key fact (as of April 2026): Users save up to 40% of editing time by utilizing automated Photoshop Actions for repetitive tasks.
—
Troubleshooting: Solving Common Challenges
1. Synthetic Look in MidJourney Art – Solution: Structure prompts to emphasize “realistic textures” and “true-to-life lighting.”
2. Lagging Performance in Photoshop – Solution: Enable Smart Objects or merge unnecessary layers to reduce file size.
3. Difficulty with Layer Blending – Solution: Use Feathered Masks and attention to consistent light sources for smoother integration.
Key fact (as of April 2026): Employing Smart Object workflows reduces lag and rendering times on large Photoshop projects by up to 30%.
—
Real-World Applications of Combined AI and Editing Workflows
1. Marketing Materials MidJourney’s generative art paired with Photoshop’s editing precision allows businesses to create standout advertising visuals.
2. Commissioned Artwork Commissioned creatives refine AI-generated drafts in Photoshop to produce detailed, client-approved art.
3. E-Commerce Product Shots Marketers incorporate AI-driven mockups with manually added lighting and branding for professional-level product visuals.
4. Illustrated Storyboards Storytelling teams use images created in MidJourney, adjusted in Photoshop for clarity and formatting, to streamline animation planning.
Key fact (as of April 2026): Small business adoption of tools like MidJourney and Photoshop for visual projects has surpassed 65%.
—